This tutorial will teach you how to create pogs from scratch. Before you start, you will need a good image editing program. For a Windows system, I suggest Paint Shop Pro. You can get the shareware version of Paint Shop Pro X from http://www.jasc.com, or if, like me, you're running a computer that's too old for that version, you can get version 7.04 here.
You will also need the pog frames, found here. This contains Medium and Large frames. You will need to resize them for the other sizes.
This tutorial is based on Paint Shop Pro 7.04. Some of the tasks may need to be done differently in other programs, but it will be basically the same steps once you find the commands in your program.
Today we'll be using a vote incentive image from No Need For Bushido and making a pog of Kenta Daisuke.
Note: You will notice that I change the zoom level frequently. To do this, just use the scroll wheel on your mouse.
Step 1[]
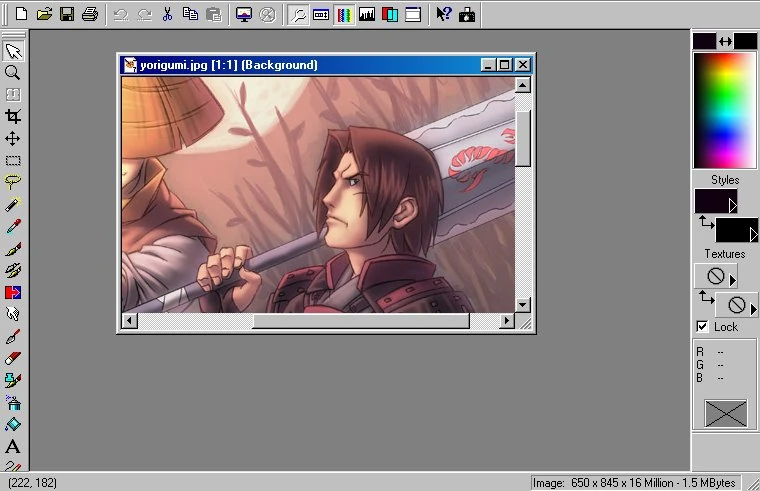
- Get a picture with the image you want, and open it in your paint program.
Step 2[]
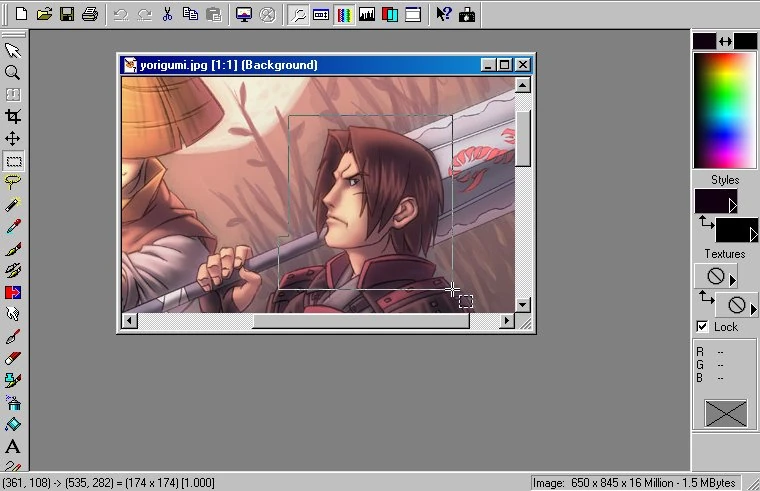
- Using the Selection tool, select the area that you want visible on the pog. To make it easier on yourself, use the guide at the bottom of the screen, and try to make it a square selection.
Step 3[]
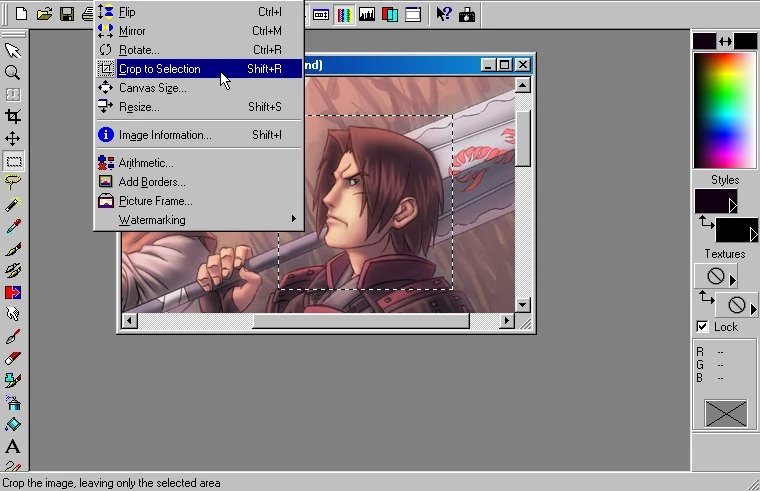
- Under the Image menu, select Crop to Selection.
Step 4[]
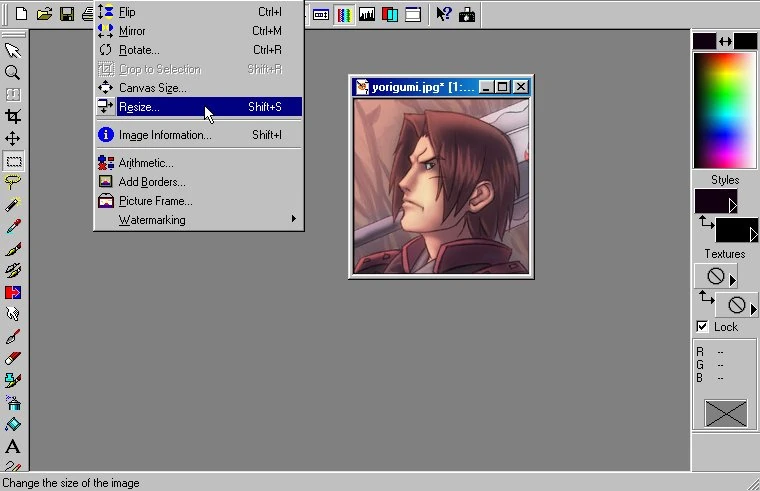
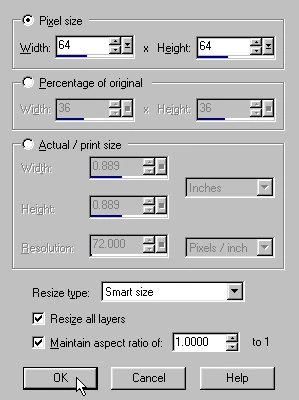
- Again, under the Image Menu, select Resize
Step 5[]
- One square in Gametable is 64 pixels square, so you should to resize your pog as follows:
- Fine - 32x32
- Tiny - 32x32
- Small - 64x64
- Medium - 64x64
- Large - 128x128
- Huge - 192x192
- Gargantuan - 256x256
- Colossal - 320x320
- If the image isn't square, select the bigger dimension from the list above, and allow the program to set the other for you. Make sure that the Maintain Aspect Ratio box is selected.
Step 6[]
Optional
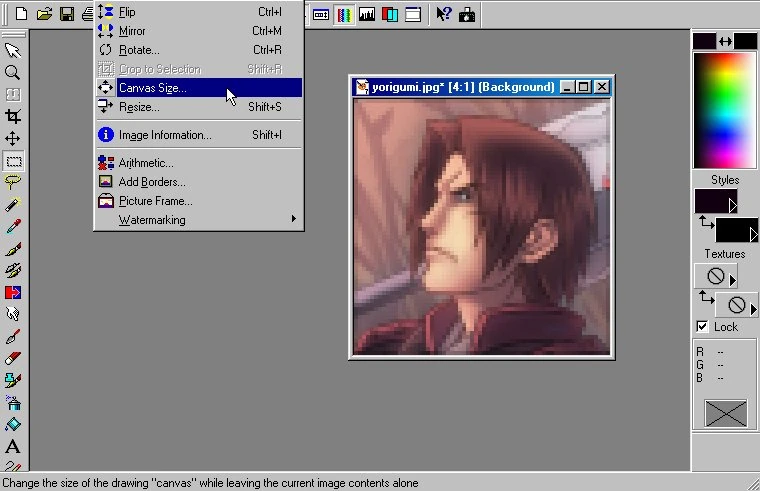
- If your current image isn't square, or if, like this one, you've cropped it so close that the frame will block the picture, you need to do some minor adjustments. First, select the Canvas Size tool from the Images menu.
Step 7[]
Optional
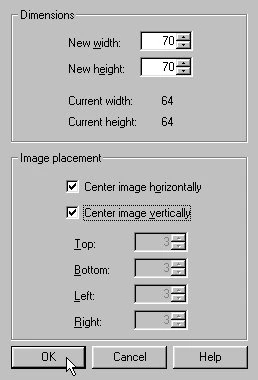
- If the image isn't square, enter the proper dimensions, off the list above, in the dialog box. You may want to try playing with the Imager Placement for some images. If you've got a 64x64 image that is too big for a pog, change the canvas size to 70x70, then follow Steps 4 and 5 again to make the image 64x64.
Step 8[]
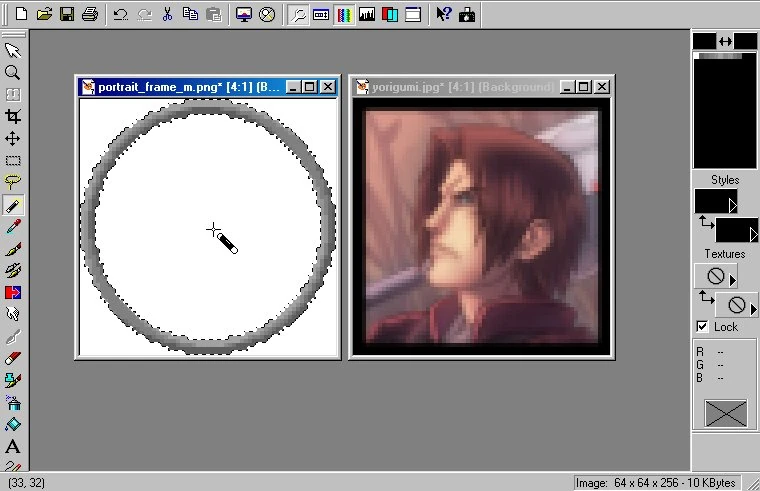
- Now, you need to open your frame file. Use the Select Tool to select the whole image, or choose Select All from the Selections menu, or press Ctrl+A. Once the full image is selected, click the Magic Wand tool, hold down the Ctrl key while clicking each of the white areas to deselect them. This will leave nothing but the frame selected.
Step 9[]
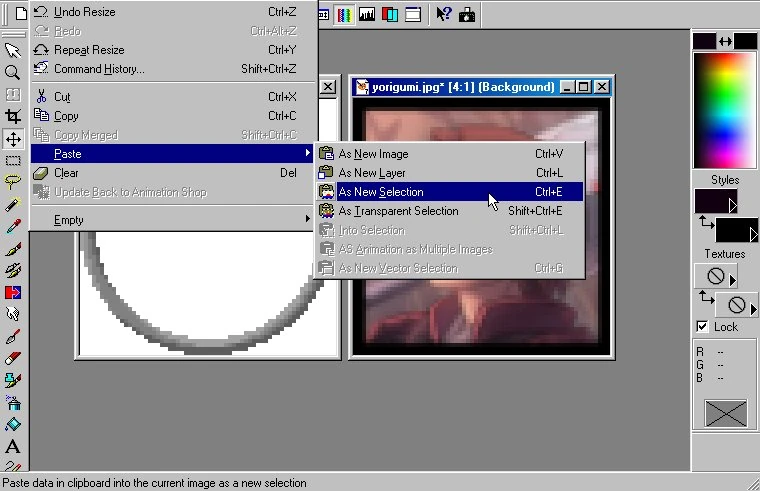
- Under the Edit menu, choose Copy. Then, go back to your image and select Paste -> As New Selection from the Edit menu, or press Ctrl+E. Carefully position the frame so that it touches all four sides of the image, then click your mouse to drop the selection.
Step 10[]
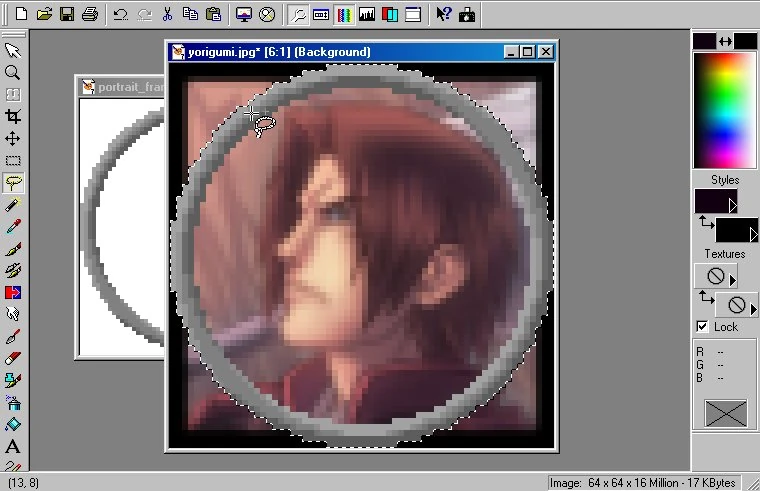
- Select the Lasso tool. This lets you select an irregular shaped area. Hold the Shift key to add to the current selection, and trace the pog frame. This will select everything inside the pog. Don't worry if your line isn't smooth, because holding the Shift key will add the new selection to the old one. If you select an area outside the frame, click Undo, and try again. If you leave an area unselected between the pog and frame, just hold Shift and circle that area. After a few pogs, this step will be a lot easier than the first time. When you're done, you should have a selection that includes everything except the four corners outside the frame.
Step 11[]
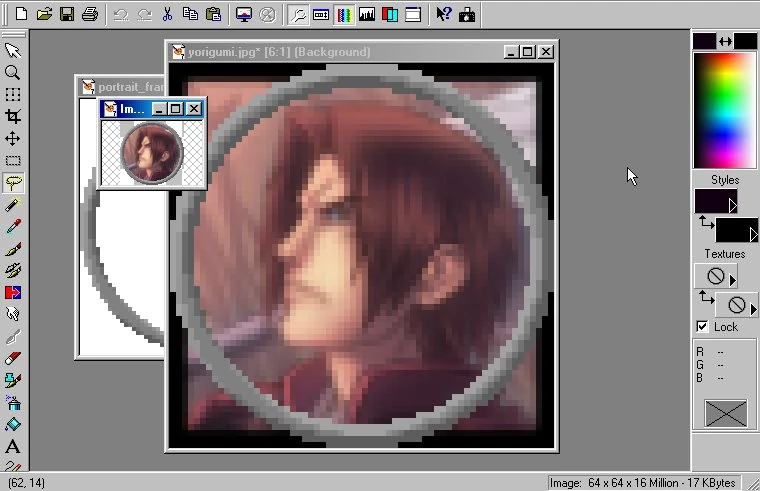
- From the Edit menu, Select Copy, then Paste -> As New Image, or press Ctrl+C, then Ctrl+V. This will make a new image out of your selection. Notice the grey and white checkerboard around the pog - that's a transparency, and will remain transparent if the file is saved as a format which supports it.
Step 12[]
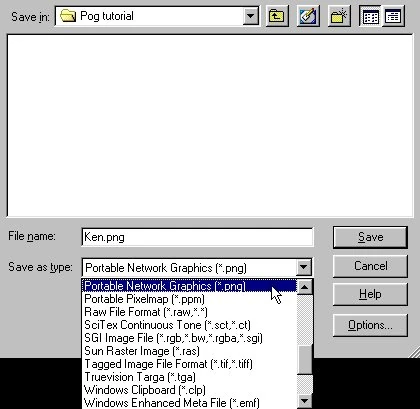
- Now all that's left is to save your image. Select Save of Save As from the File menu, or press F12. Type in your file name, and make sure to change the file type to Portable Network Graphics (*.png). Save to your pogs directory. Don't bother saving the work file, just the new one we created in Step 11.
- And you're done! You should now have something that looks like this.

If it seems daunting, don't worry! Once you get the hang of it, you should be able to take an image and turn it into a pog in 30-60 seconds each.
If you have any questions concerning the tutorial, post them here. If you need help troubleshooting Paint Shop Pro, PM Necrite here. If you want a crack for the shareware versions of the programs, don't ask. Your requests for cracks will be deleted and/or reported.